Logging Out
Once you have logged in you can logout by hitting ‘Logout’. Top right. This will remove any cookies and take you back to the Home Page, You can alter the Image (by default a cartoon person) on the ‘Setting’ tab:
Then you can login again.
Tabs
There are various tabs across the top of the vendor’s screen. These are: ‘Locations’; ‘Dashboard’; ‘Tutorial’; and, ‘Settings’ For example:
The tabs work as follows:
Locations. This tab allows you to manage locations, and offers.
Dashboard. Allows a vendor to see what is going on with their offers.
Tutorial. This page.
Settings. Allows you to see and change your image, user name and password.
Creating Locations
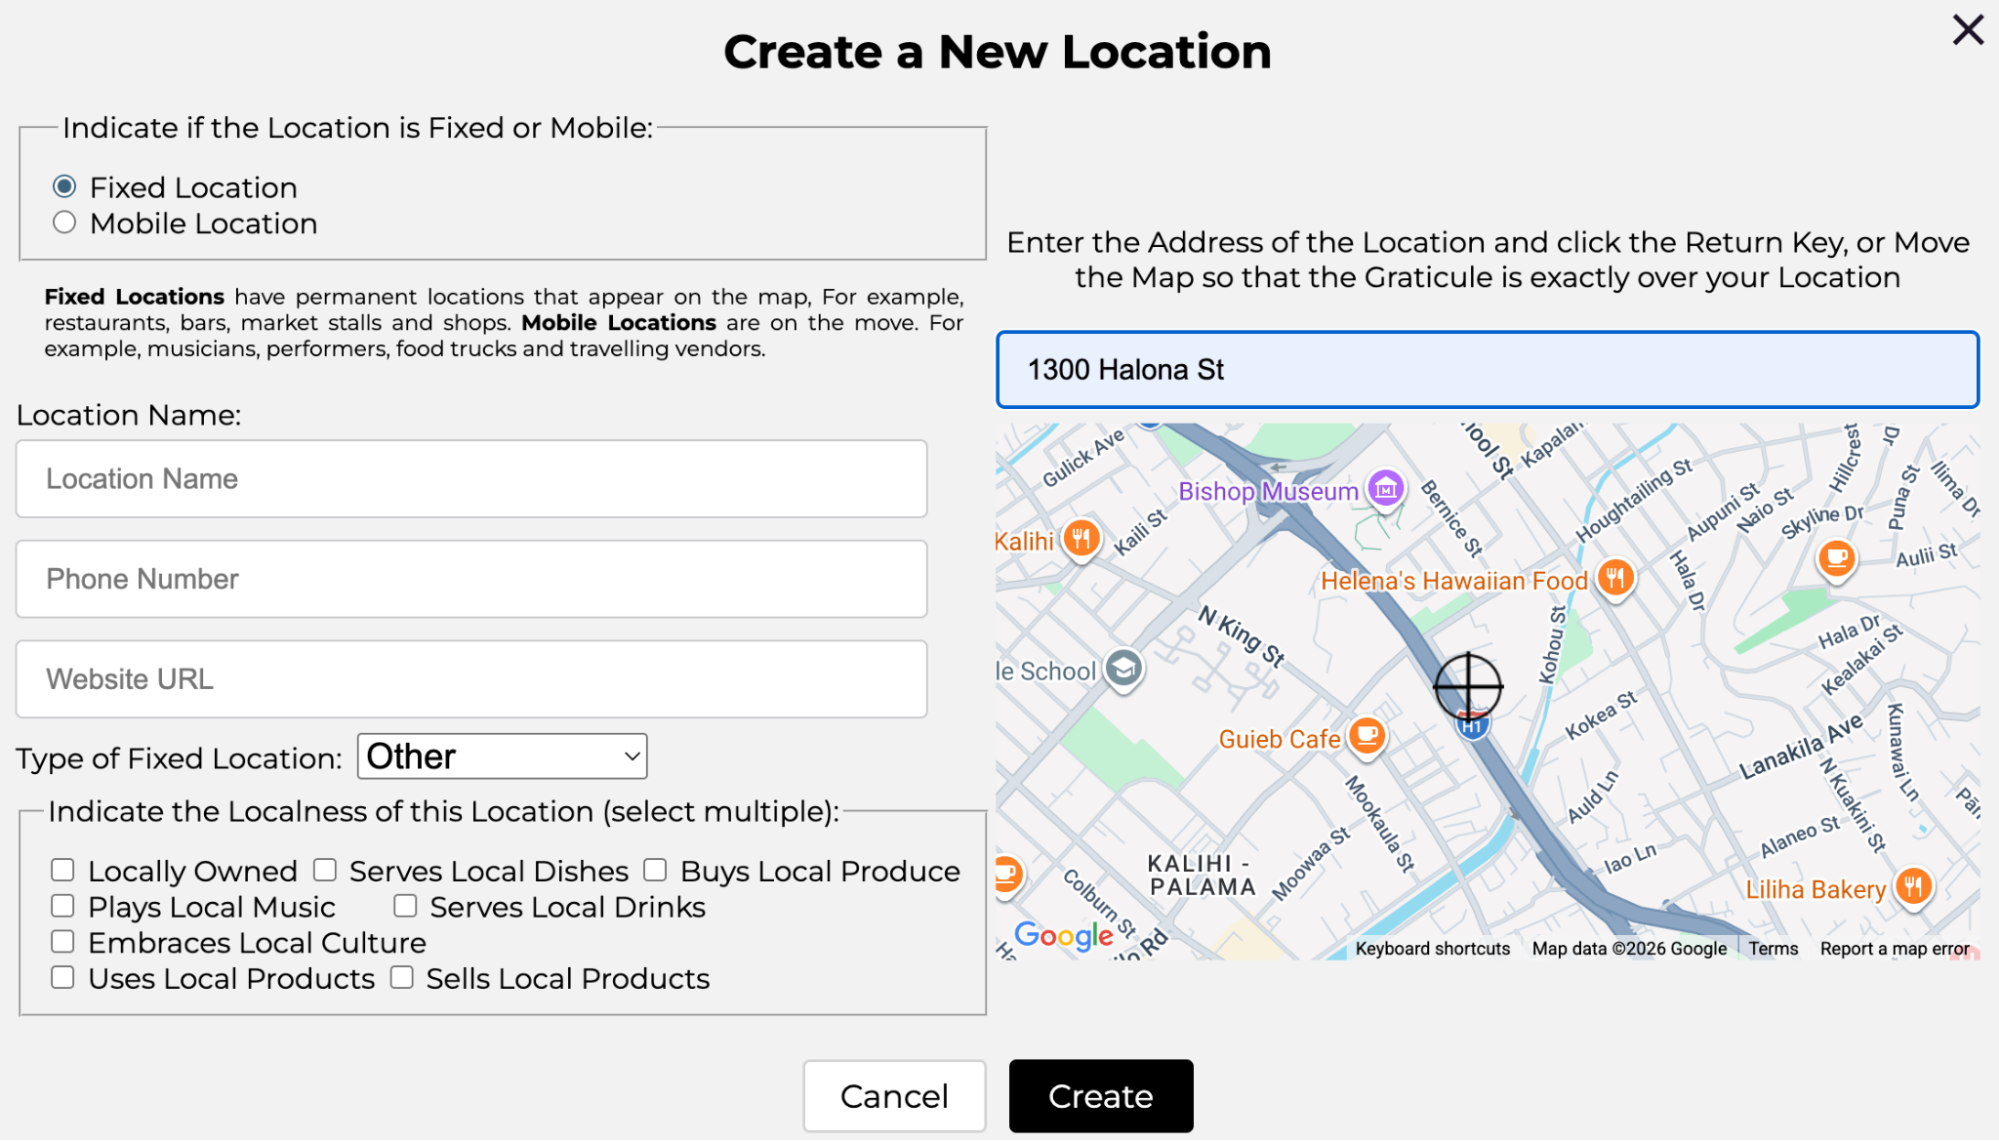
Creating a location requires you to click on the ‘+Location’ button.’ Initially this dialog appears:
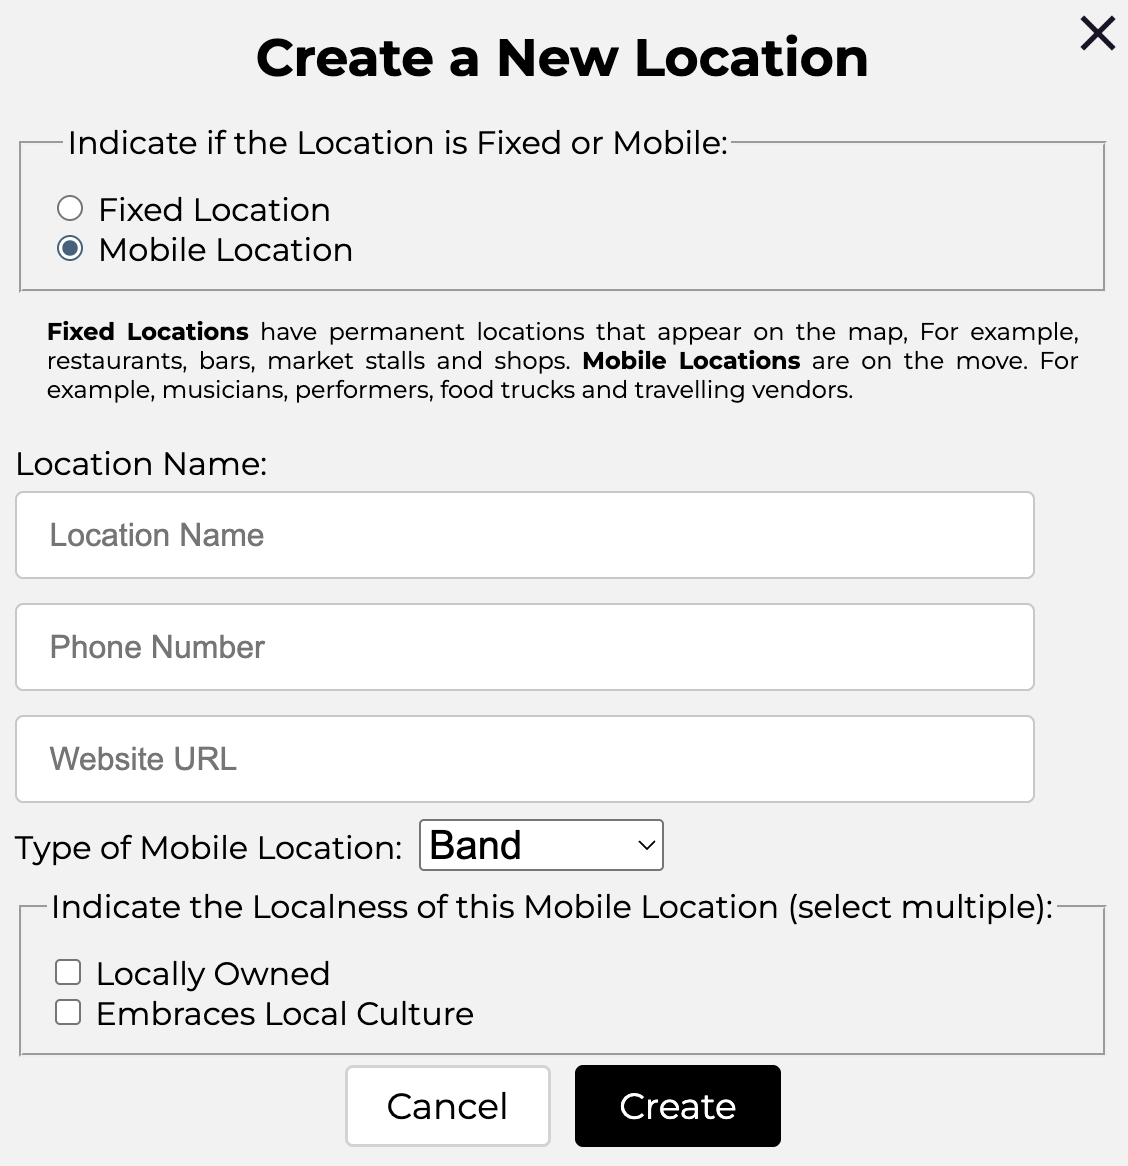
This dialog includes a Map as the location is fixed. You may enter an address in the entry field or leave it blank and move the map. In this case the address is’ 1300 Halona St, Honolulu’. Most locations are fixed (for example shops and restaurants) but the vendor may select ‘Mobile Location’, top left.
In this case a different dialog, with no Map, is displayed:
Once they are satisfied the user clicks ‘Create” and the location is created. The location might look like this:
Name is the name of the location. Maybe ‘Hilo Beer Hall’.
Type is the type of the location. Maybe ‘Bar’.
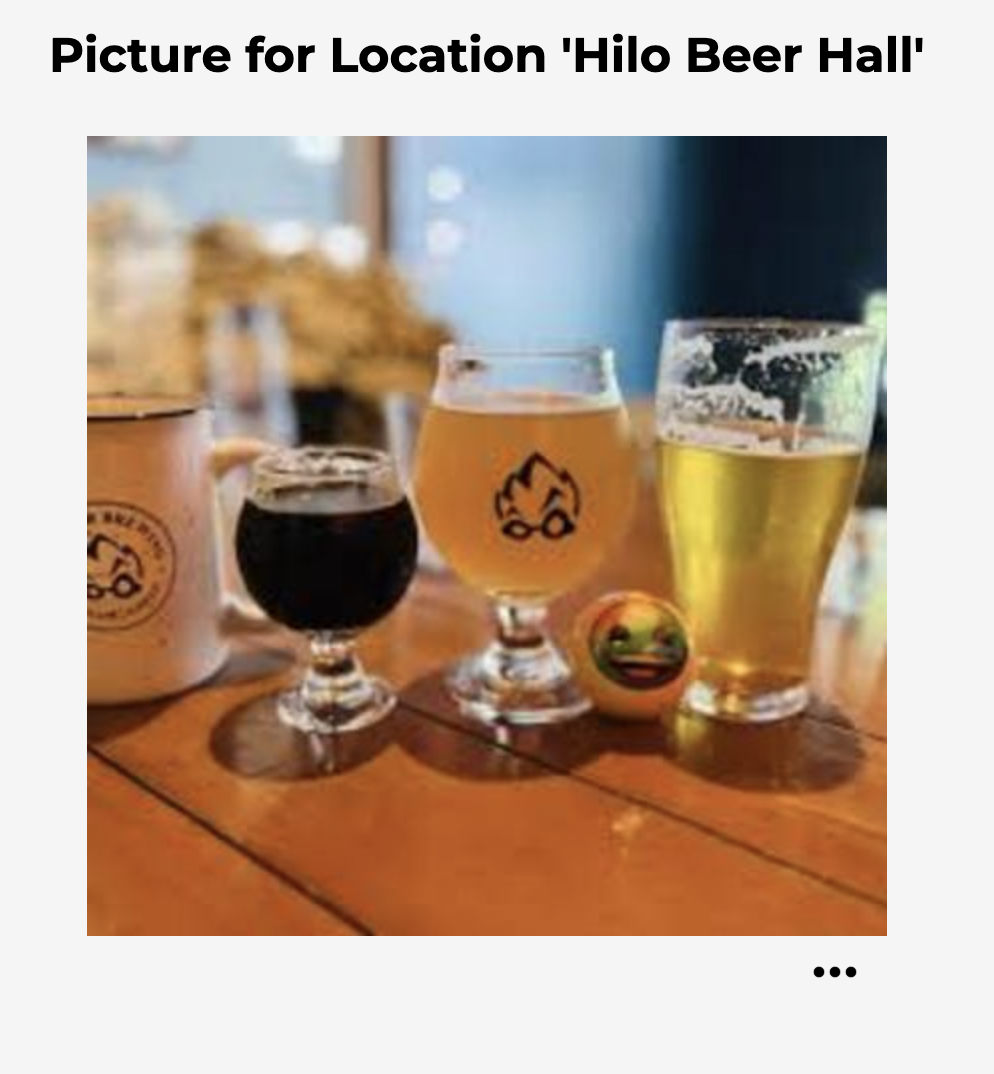
Picture indicates where this location has an identifying image. In this case it is ‘None’ indicating there is no image. The image can be added by choosing ‘Set Location Picture’ from the location menu (see below). If there is an image it can be seen by clicking on the icon. For example:
Address indicates physical address of the location. In this case ‘600 Kaheka Street, Honolulu’. If the Location is mobile the address will say ‘Mobile’.
Phone Number is the optional phone number of the location. In this case it is ‘808-555-1212’.
Website is the optional website URL of the location. In this case it is ‘budscoffee.com’.
Offers are the number of offers associated with this location. In this case it is ‘None’. This indicates there are no offers.
Active indicates whether the location appears on users’ phones. In this case the location appears in the Ezecache App. Click on the indicator to change the location’s status. This allows you to play with locations before they appear on the map. ‘Hilo Beer Hall’ appears in the App.
Clicking on this reveals the menu for this Location. The menu has three items, thus: ‘Delete this Location’, ‘Edit this Location’ and ‘Set Location Picture’. Clicking on a menu item executes it.
Editing a Location
To edit an existing location select ‘Edit this Location’ from the location’s menu. This will cause a dialog to appear populated with the existing location’s data.
Edit the location and then click ‘Update’. This will update the location with any changes you have made.
Creating Offers
Offers are the same whether they are associated with a location or mobile business.
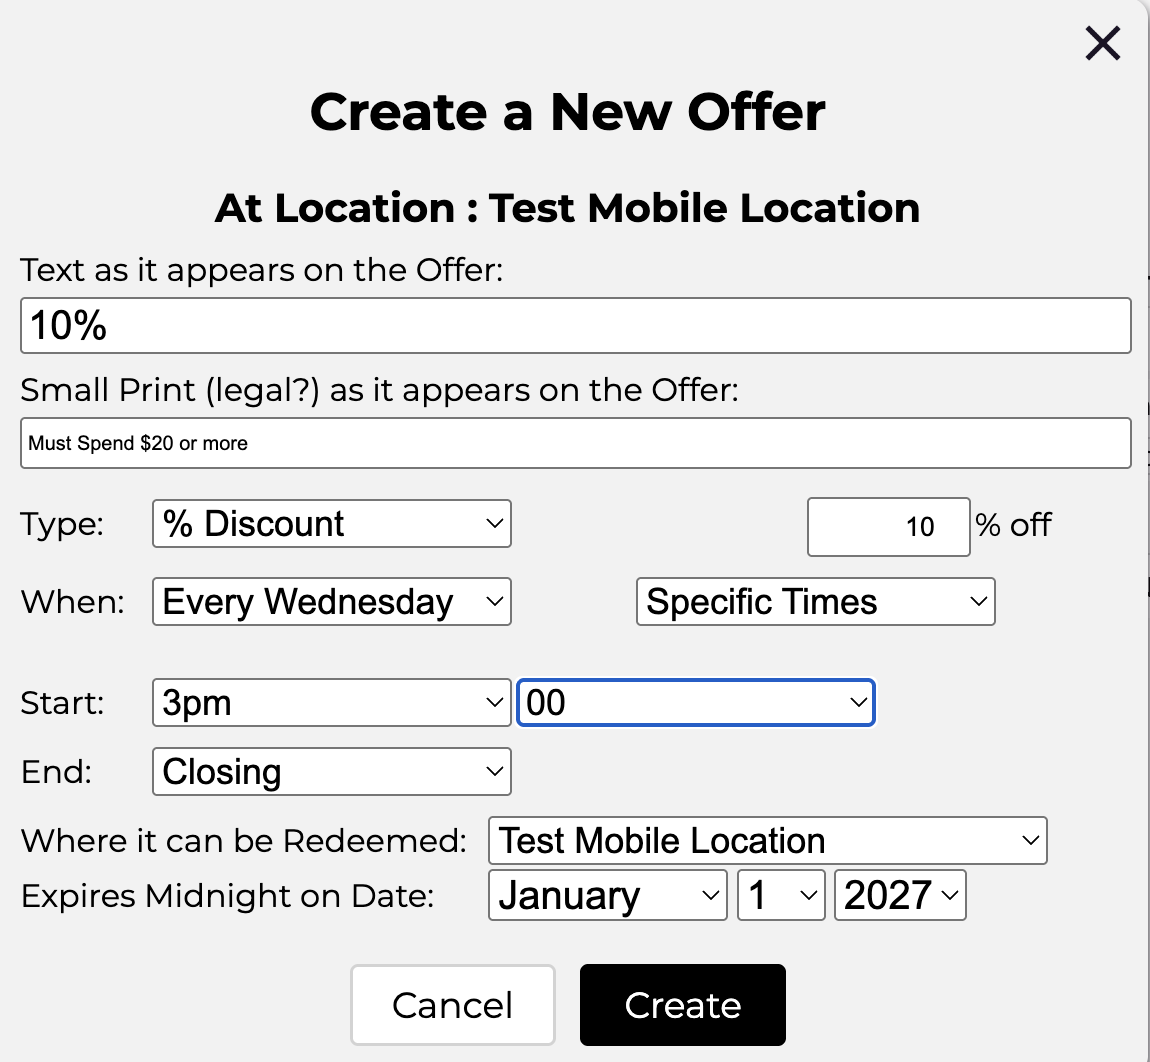
Let us say that you want to offer 10% off to customers who spend $20 or more on Wednesdays between 3pm and closing (at 7pm). This is easily done via the ‘Create Offer’ dialog. First Bud opens his location by clicking on the icon. Then he clicks and the ‘Create Offer’ Dialog Appears. Choose the correct parameters for his offer, thus:
Then click ‘Create’. Now the offer appears:
The field in an offer are as follows:
Offer Text is the text as it appears on the offer. This offer says ‘10% off’.
Terms are the legal terms which apply to this offer. In this case you must spend $20 or more.
Offer is the technical definition of the offer, This is not displayed to the user. In this case it is ‘10% off’.
Available is the days when the offer is available. In this case it is on Wednesdays.
Date is only set if the offer only applies on a specific date. It is not set in this case.
Start and End are the exact times during which the offer is valid. This offer is valid between 3pm and Closing on Wednesdays.
Redeemed tells you how many times this offer has been redeemed. In this case it is 0 because the offer is new.
Expires is the expiry date of the offer. If ‘Date’ is set this matches it, but in this case it is January 1st, 2027. Offers redeemed before the end of that date will be honored.
Status indicates whether the offer appears on users’ phones. It is either ‘Active’ or ‘Inactive’. Unless an offer is ‘Active’ it does not appear in the Ezecache App. Click on the button to change the offer’s status. This allows you to play with offers before they appear at a location.
Clicking on this reveals the menu for this offer. The menu has three items, thus: ‘Delete this Offer’, and ‘Edit this Offer’. Clicking on a menu item executes it.
Remember an offer must be activated to appear on phones. To activate an offer the Status button (at right) must be clicked.
Editing Offers
To edit an existing offer select ‘Edit this Offer’ from the offer’s menu. This will cause a dialog to appear populated with the existing offer’s data. For example:
Edit the offer and then click ‘Update’. This will update the offer with any changes you have made.
In summary, you need to sign up and then create a fixed location or mobile business (also called a ‘location’) and associate one or more offers with it. This gets you started. Active offers and locations look like this on ezecache.com:
Displaying Offers and Businesses in the App.
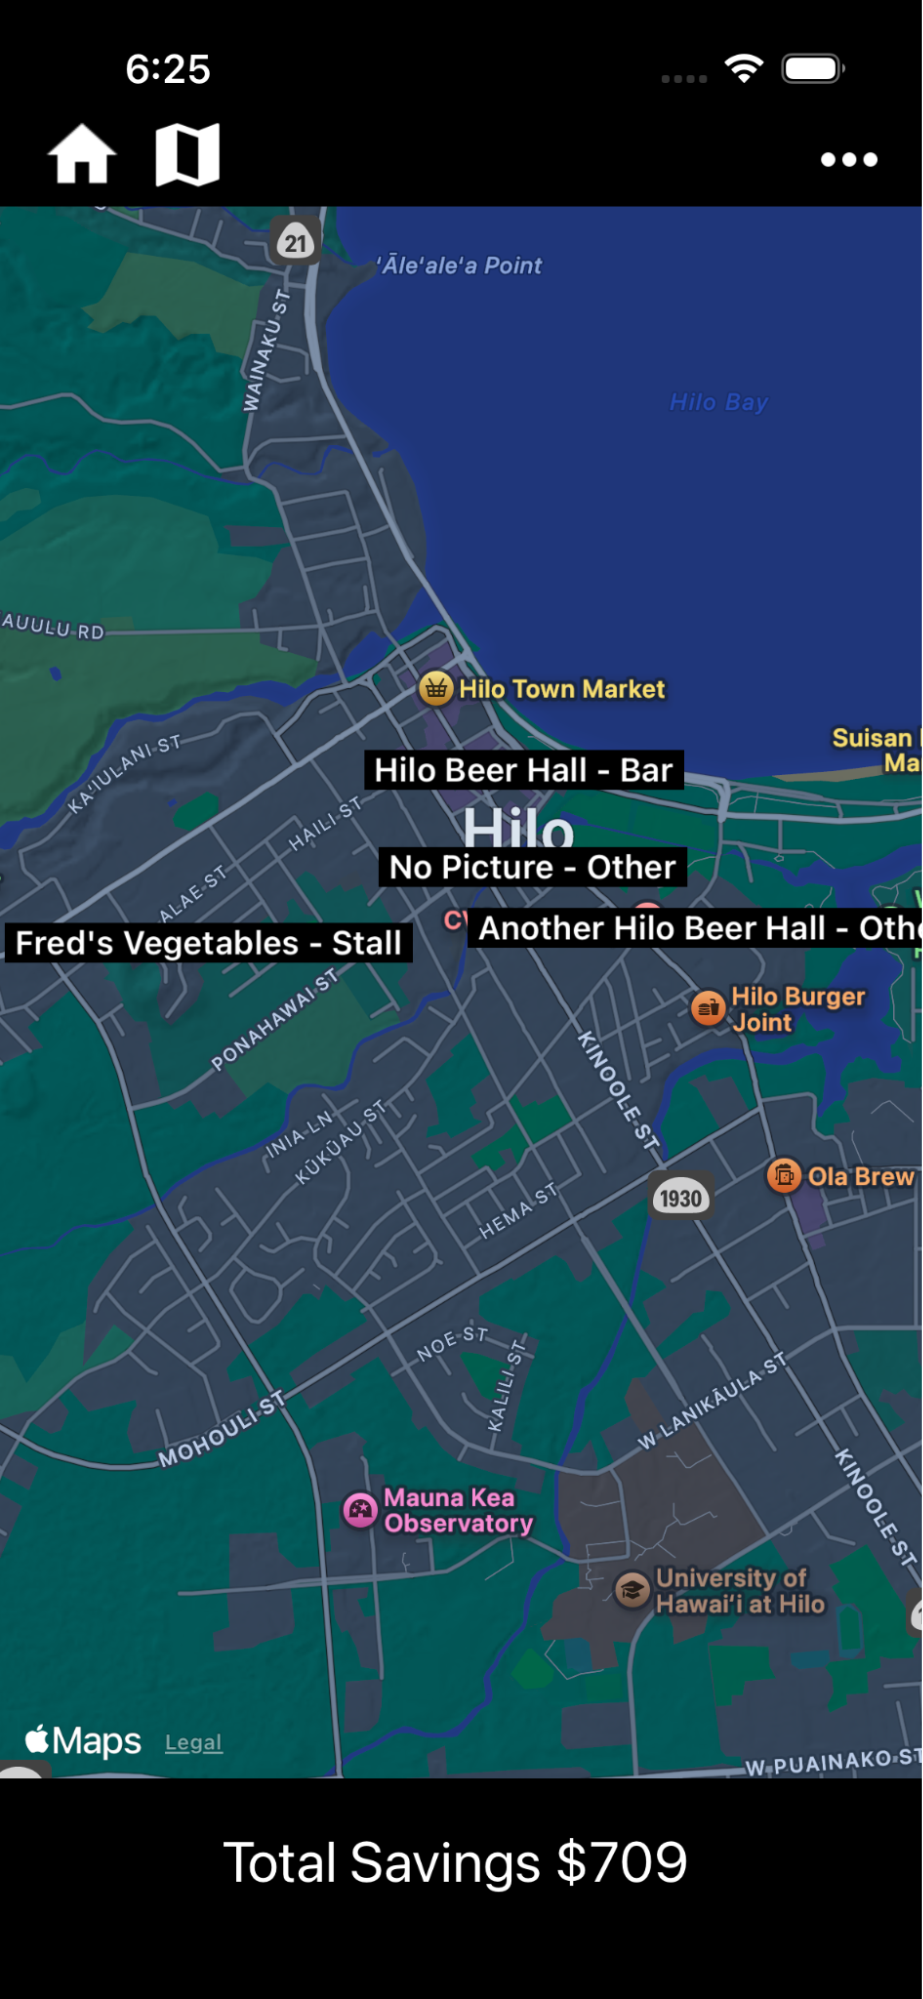
Users use our App on their phone, either iPhone or Android. Here’s what it looks like on the iPhone. Android is much the same. Note the vendor locations on the map:
Locations don’t appear in the app unless they are ‘Active’ (see above). Above is an example of how active vendor locations may appear on users’ phones.
Clicking on a location opens it.
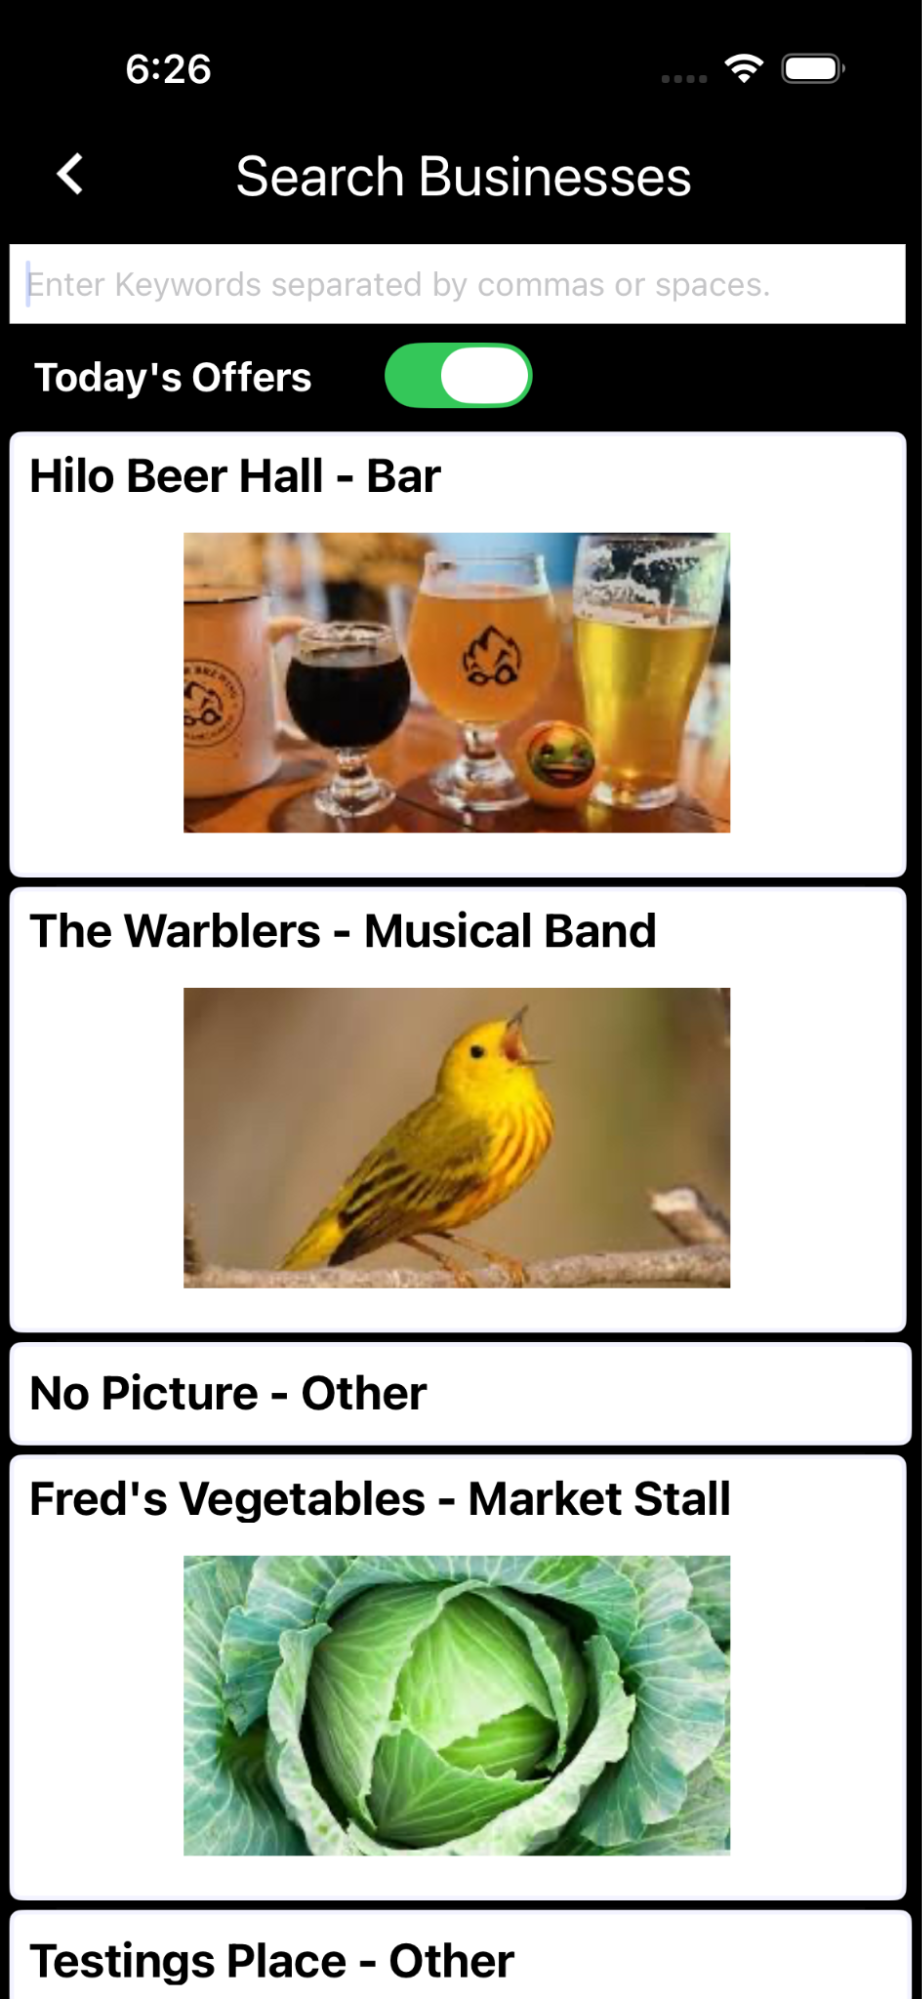
Users may also find locations using the ‘Search Businesses' menu. Or go quickly to businesses they have been to before using the ‘visited business’ icon, 2nd from the left.
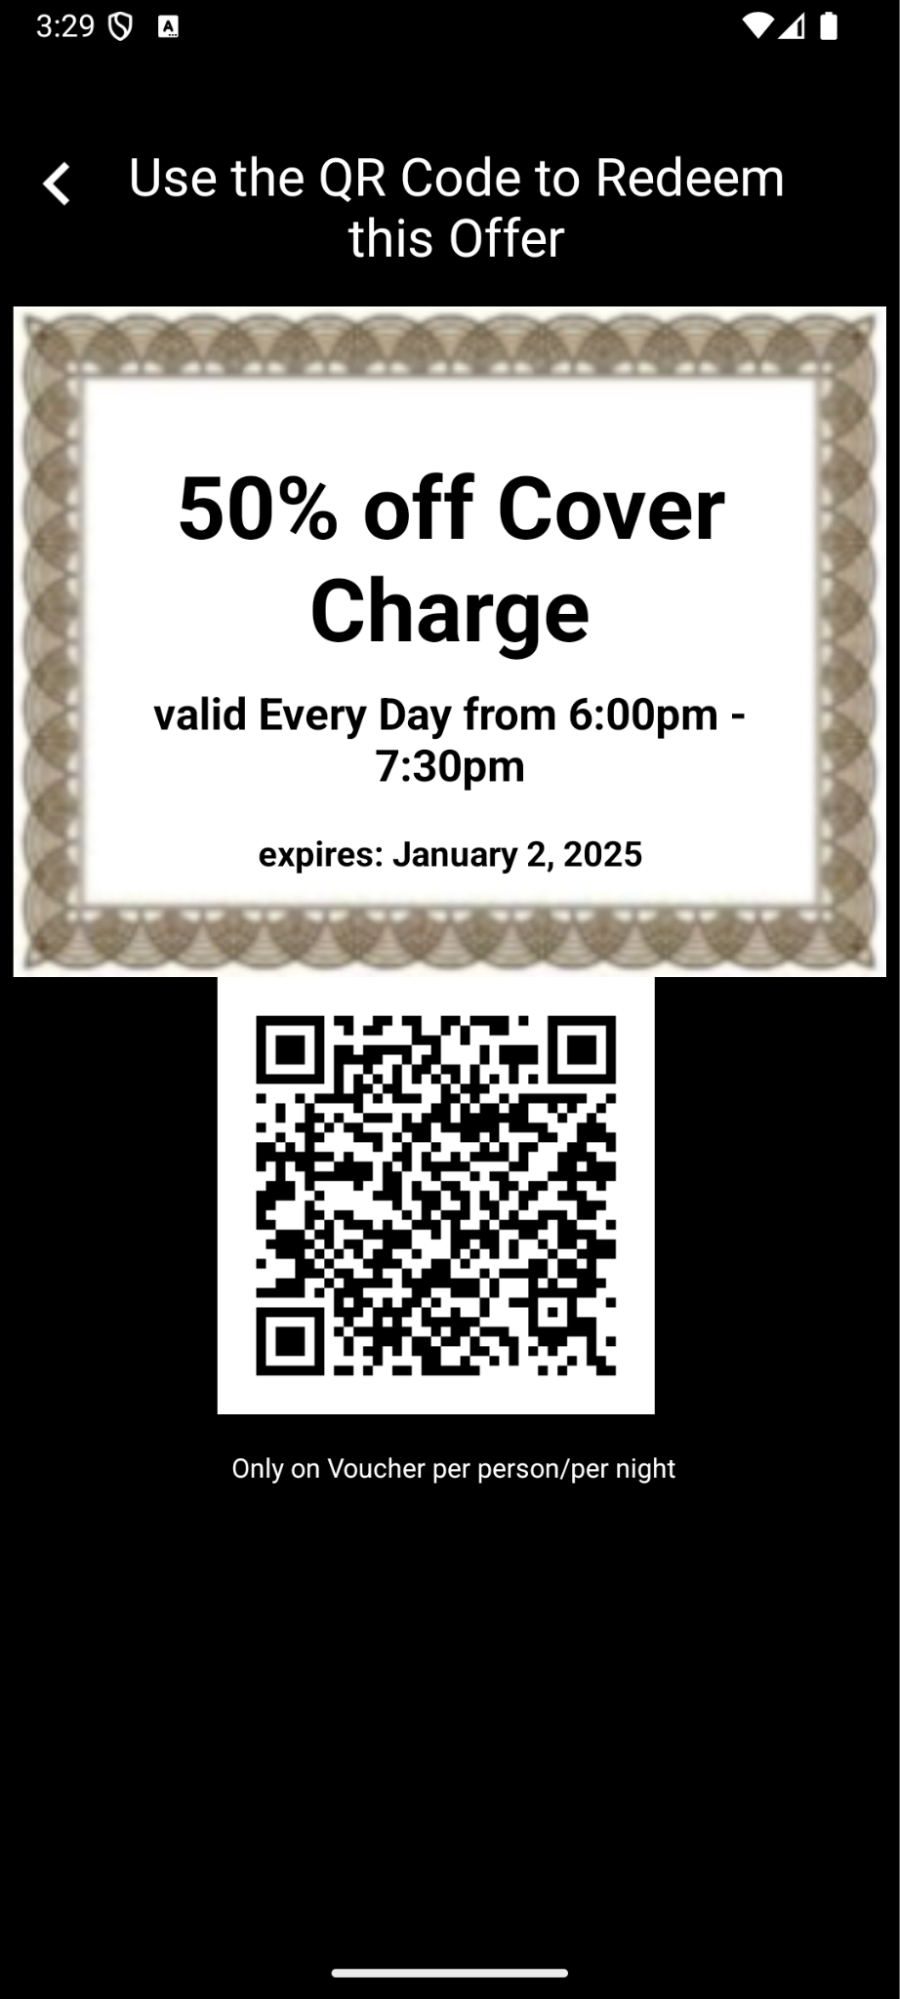
Clicking on an offer redeems it. The user can show this QR code to your waiter etc.
Once a user has visited a business on the map or menu it is automatically installed in a quick tab for easy reference later. In that way users can review offers and redeem them easily at chosen businesses.
Redeeming Offers
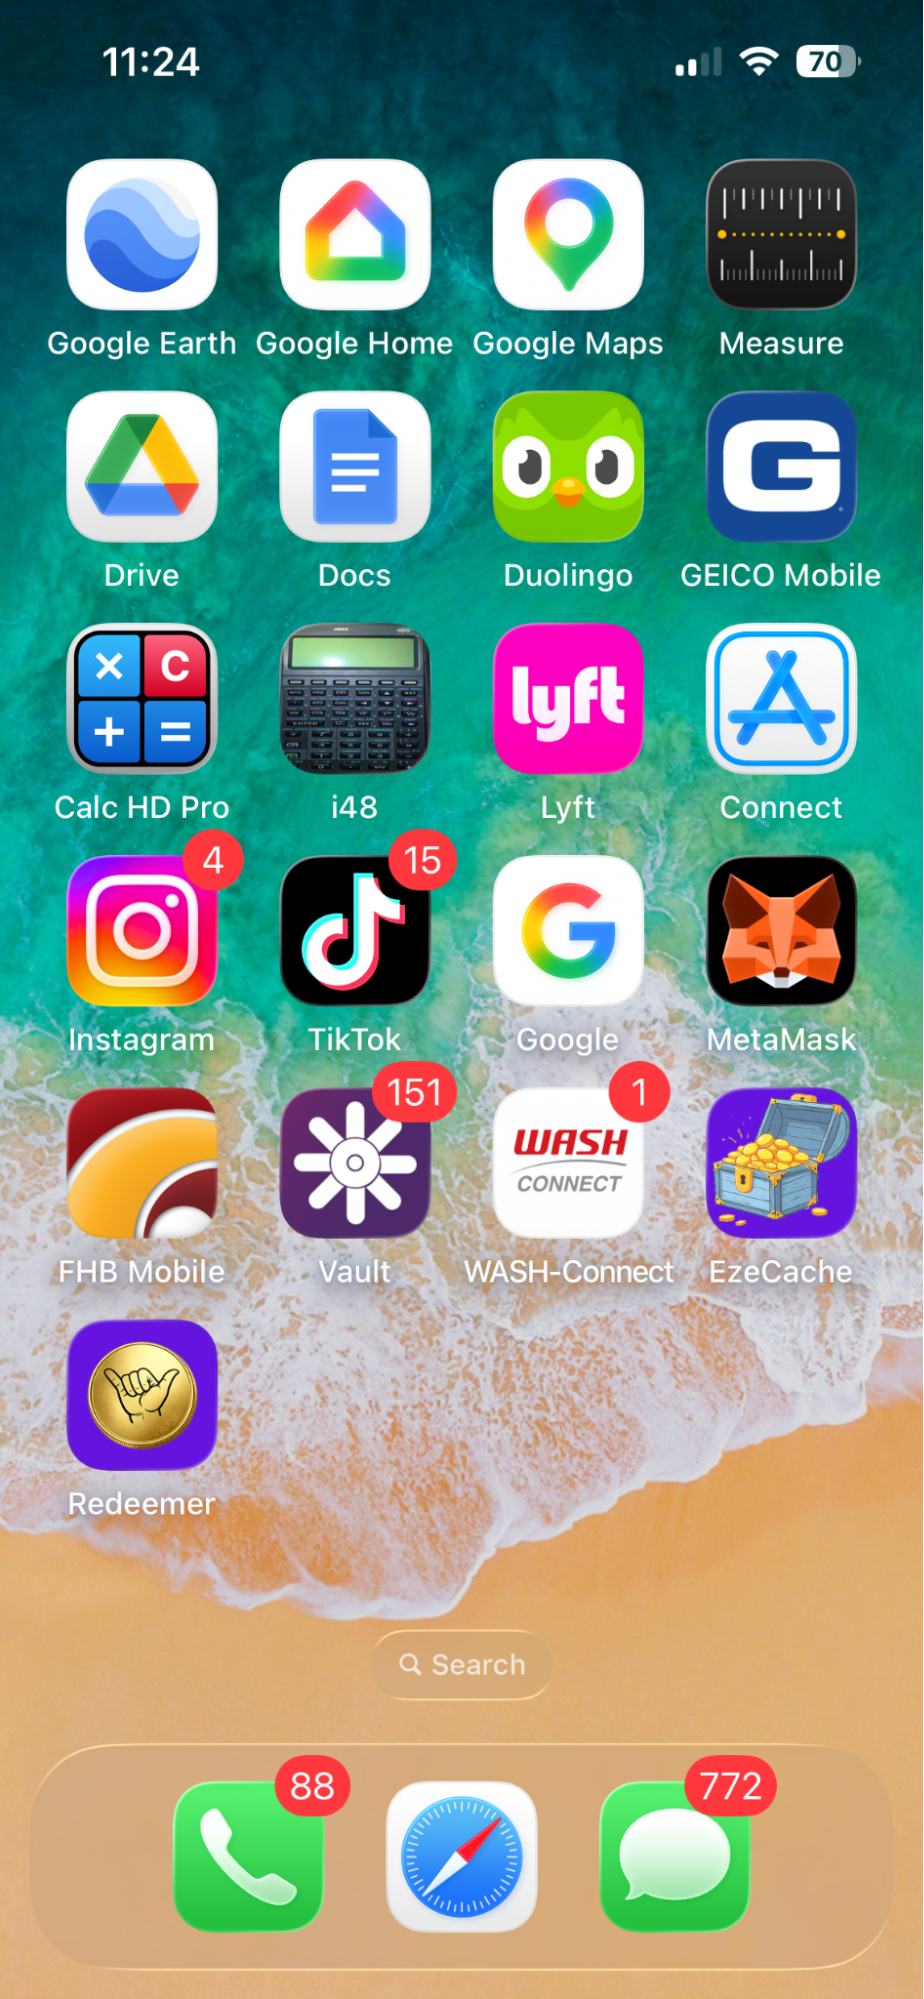
To redeem an offer a user shows the offer’s QR code, on their phone, to the vendor’s waiter or other operative. Then the waiter uses our web app, which they have installed on their phone or other camera device, to go to the URL encoded in the QR code. This is the URL of our site, encoded with unique parameters which identify the user and offer. These screenshots are from the iPhone, but it is essentially identical on Android. First the waiter clicks the ‘Redeemer App’ on the Home Page. How to install this app is explained below:
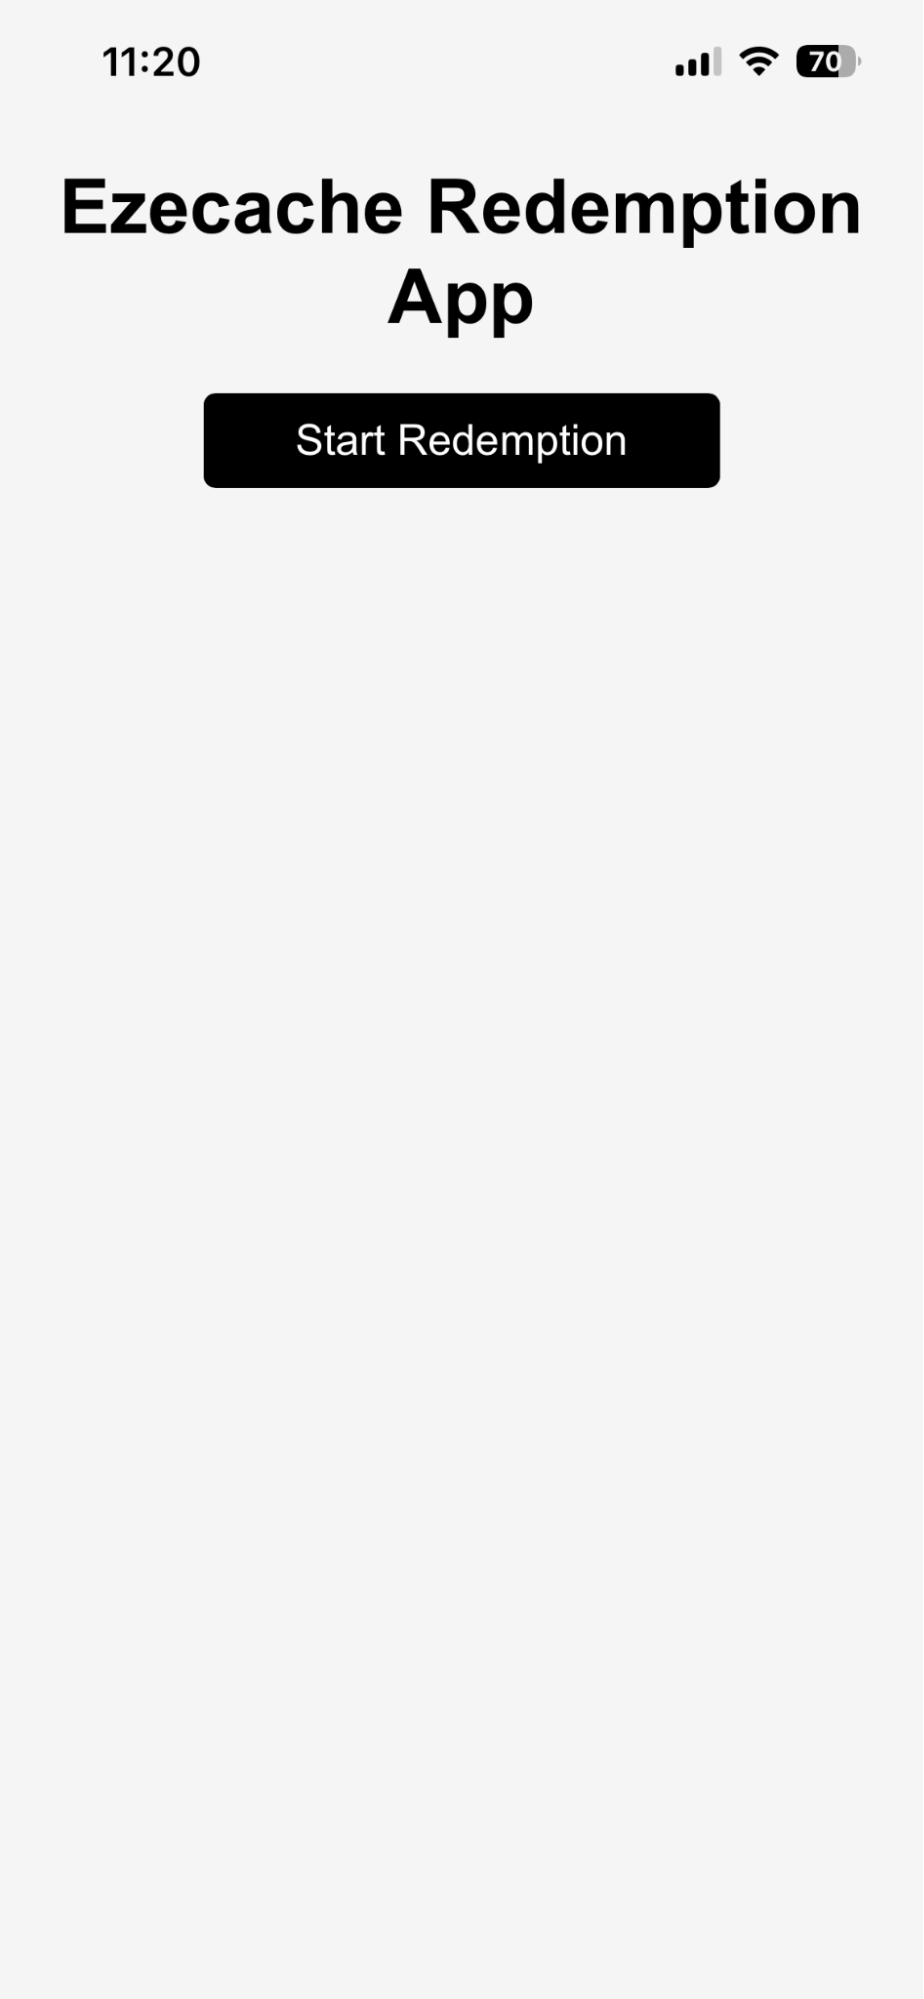
When it starts the app looks like this:
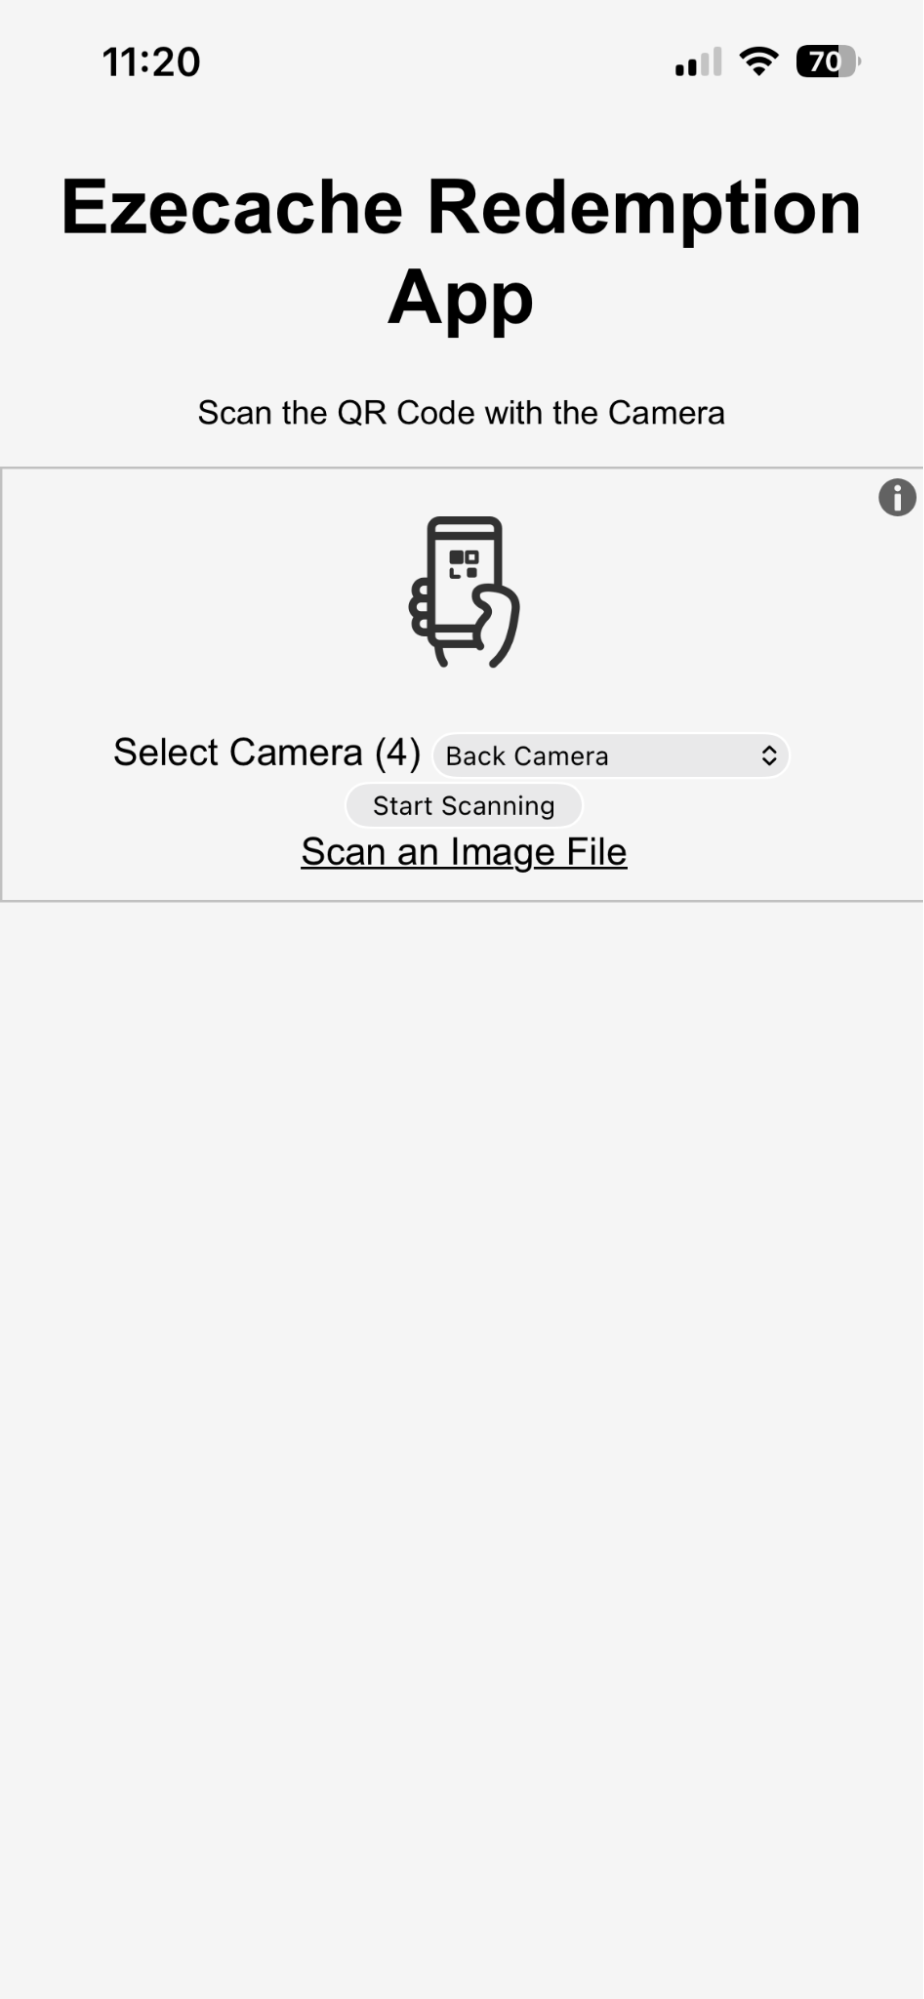
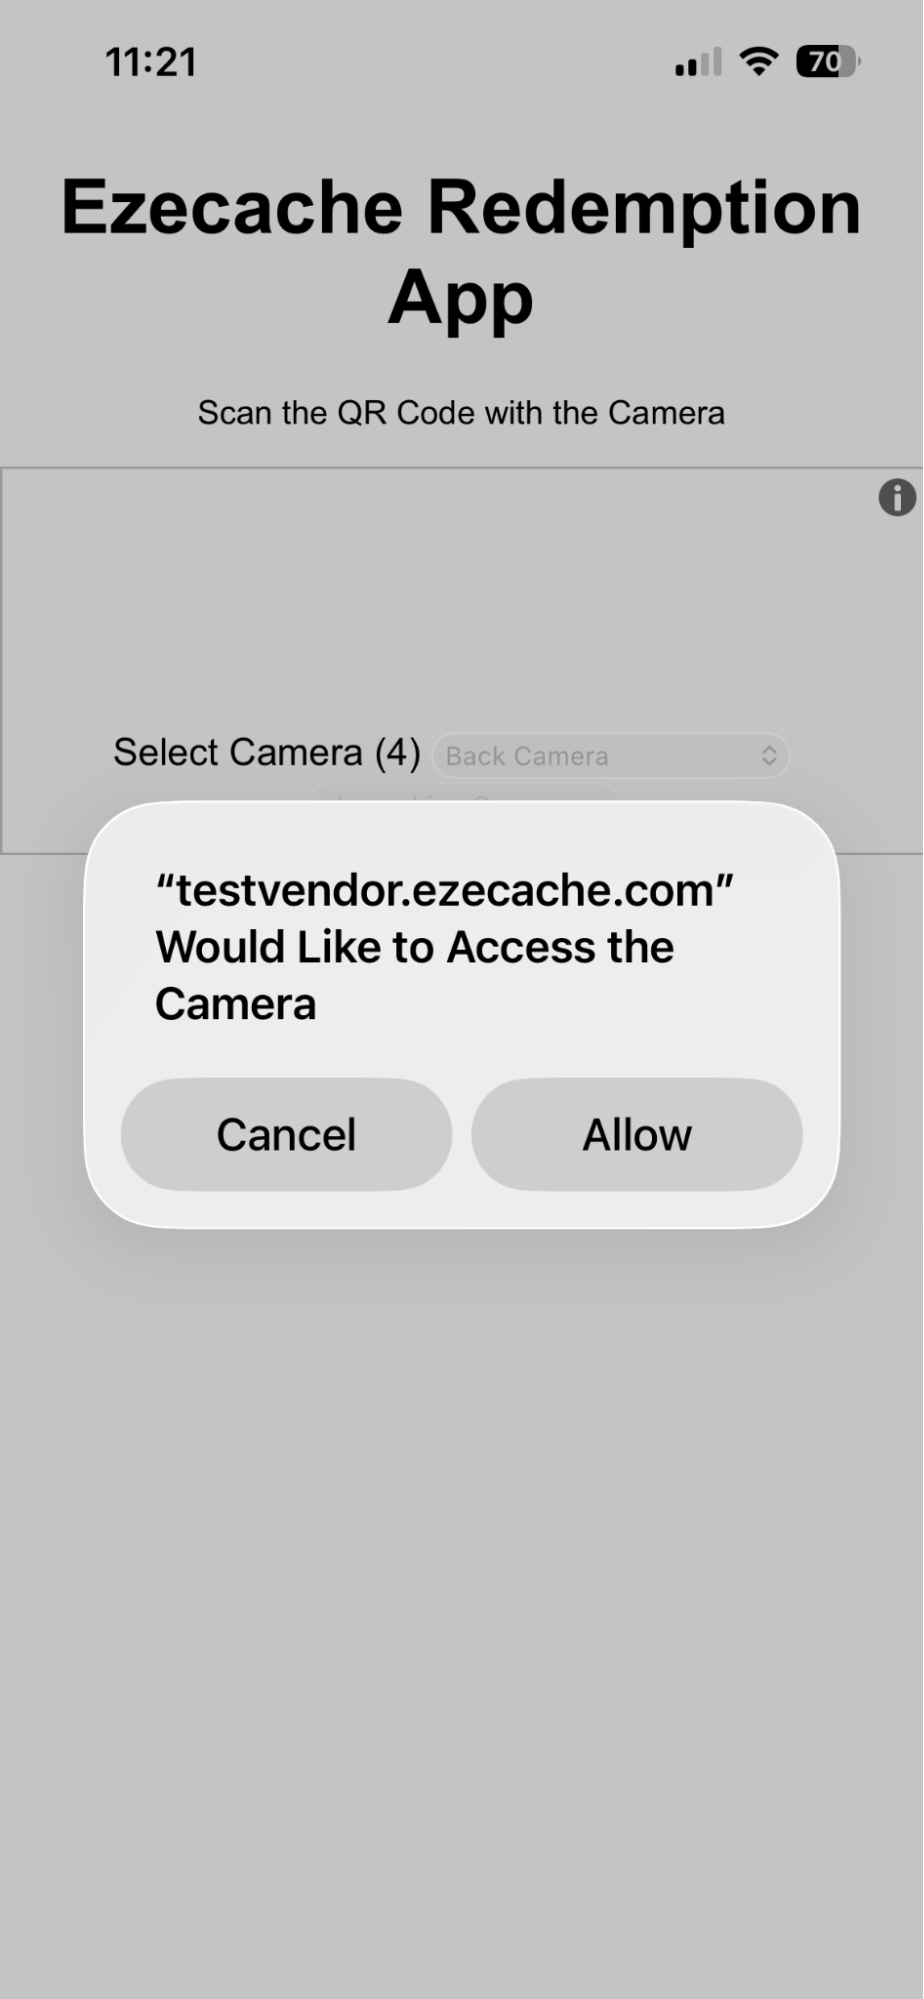
Click ‘Start Redemption’ to get started. The camera will appear. If necessary choose the camera (back or front) and allow the app to use the camera. Then click ‘Start Scanning’:
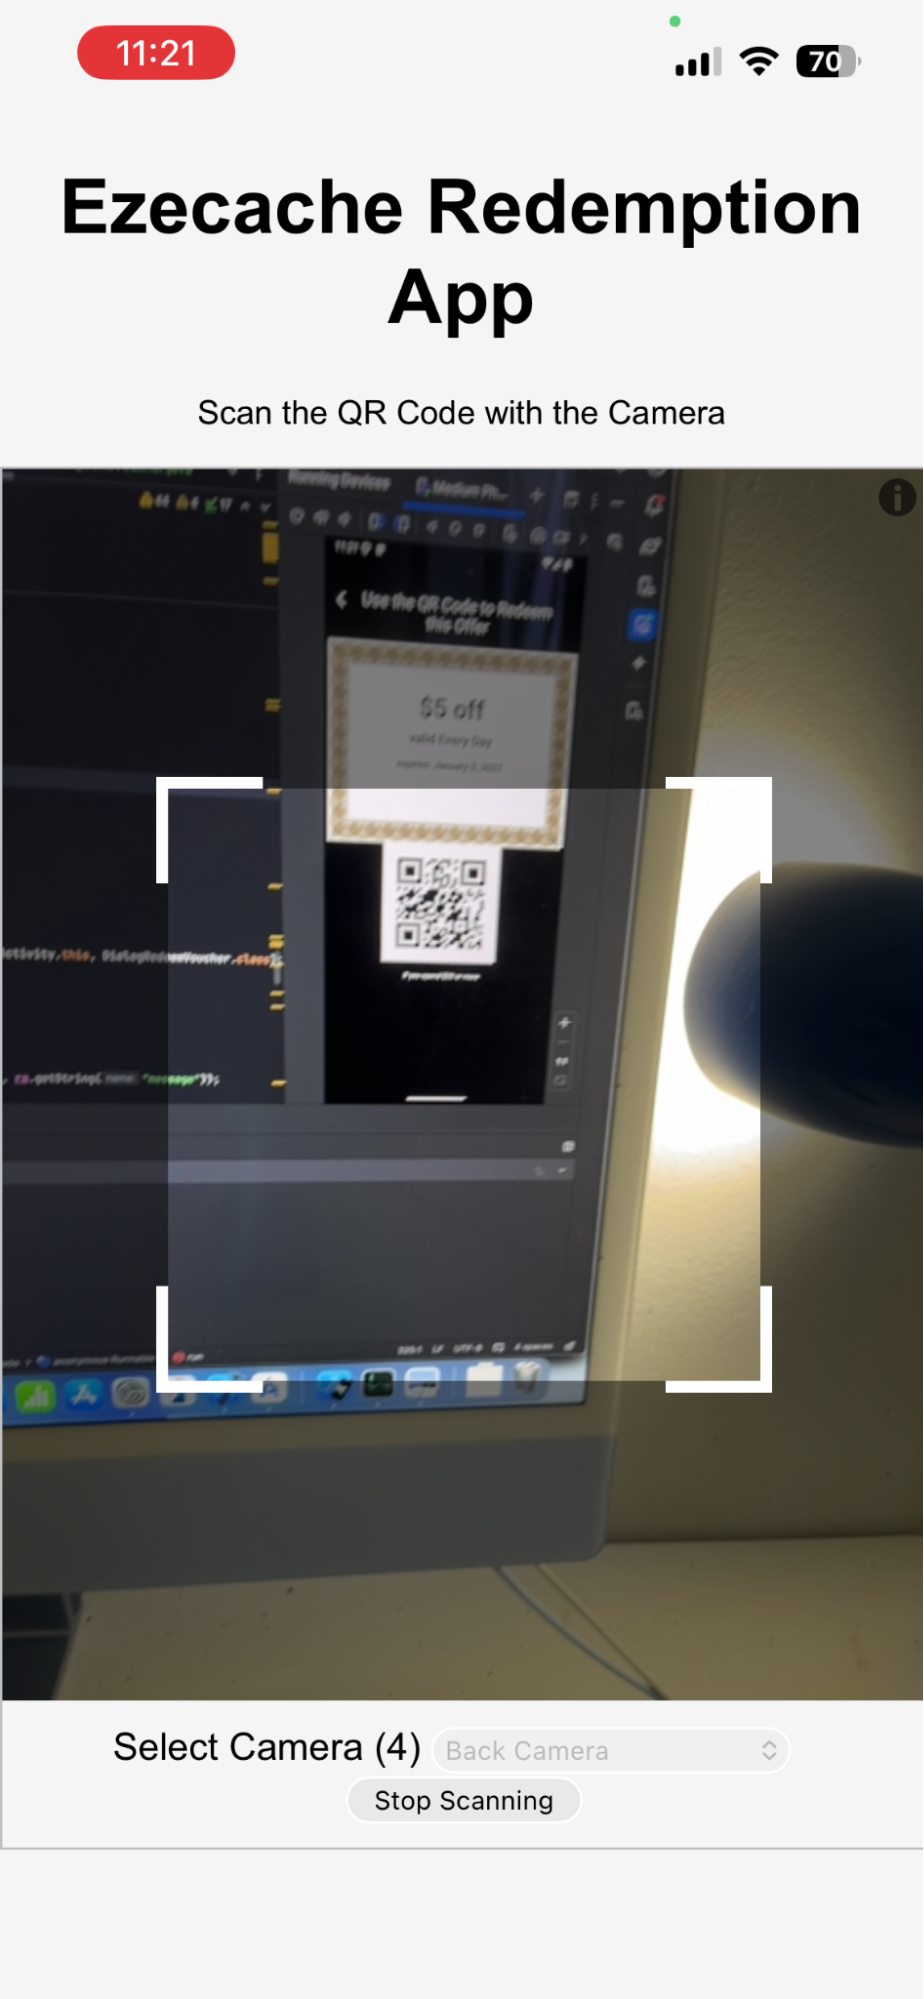
The camera will appear. Simply point it at the user’s QR code. The app will automatically read an in focus QR code.
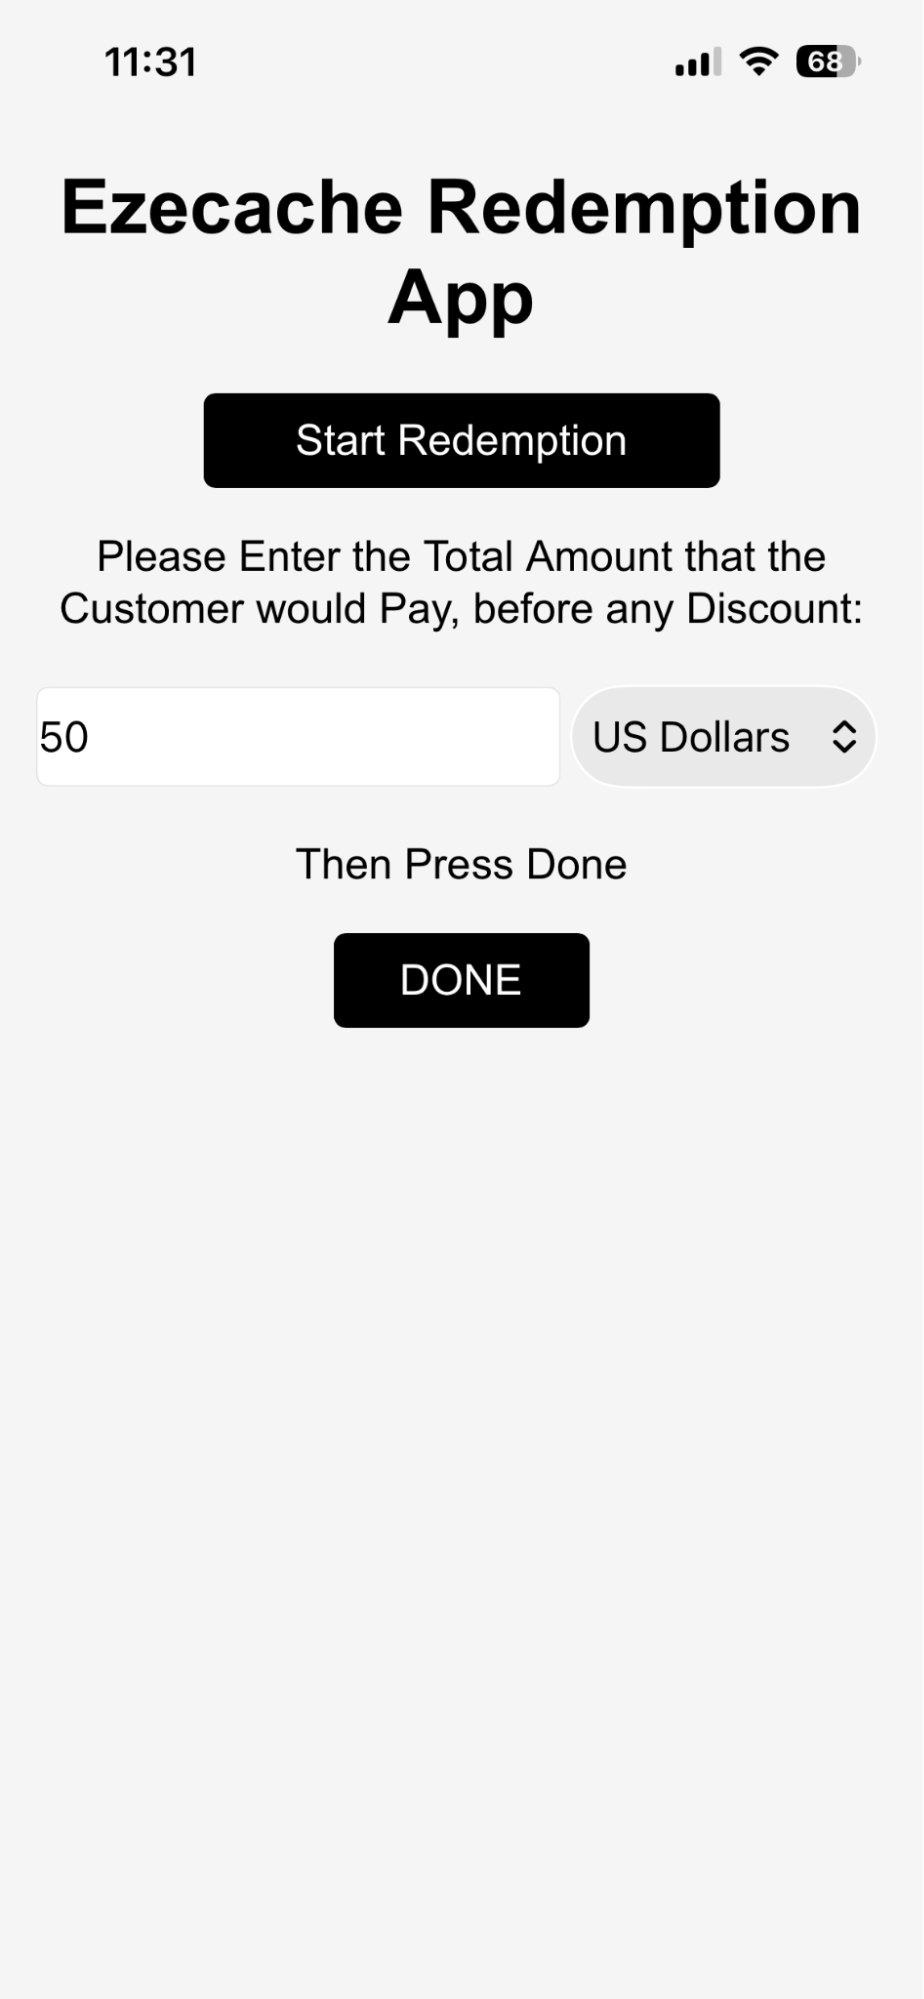
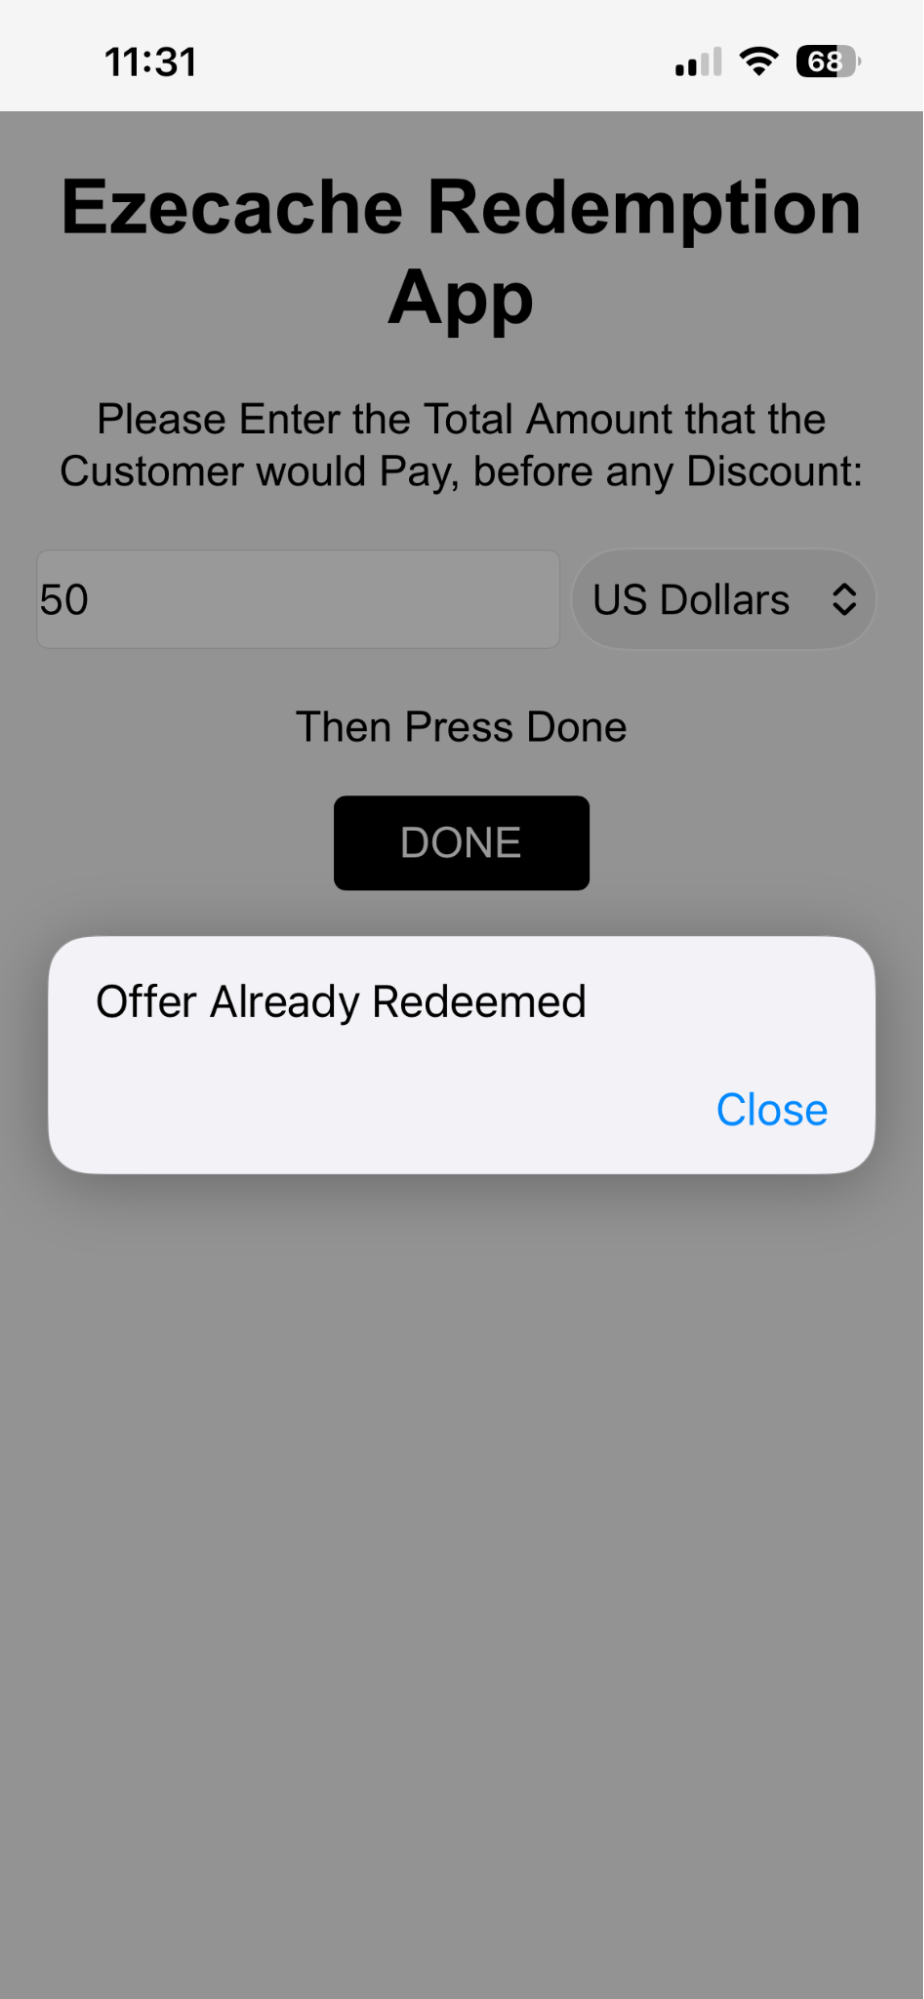
This site asks various questions, such as the amount the user paid and, assuming all is well, the offer is redeemed and the user's account (total savings) and the vendor’s dashboard is updated. When the amount has been entered, click ‘DONE’. This completes the process. An offer can only be redeemed once, or an error is generated.
Installing our Redemption Web App on iOS.
Installing our Redemption Web App on Android.
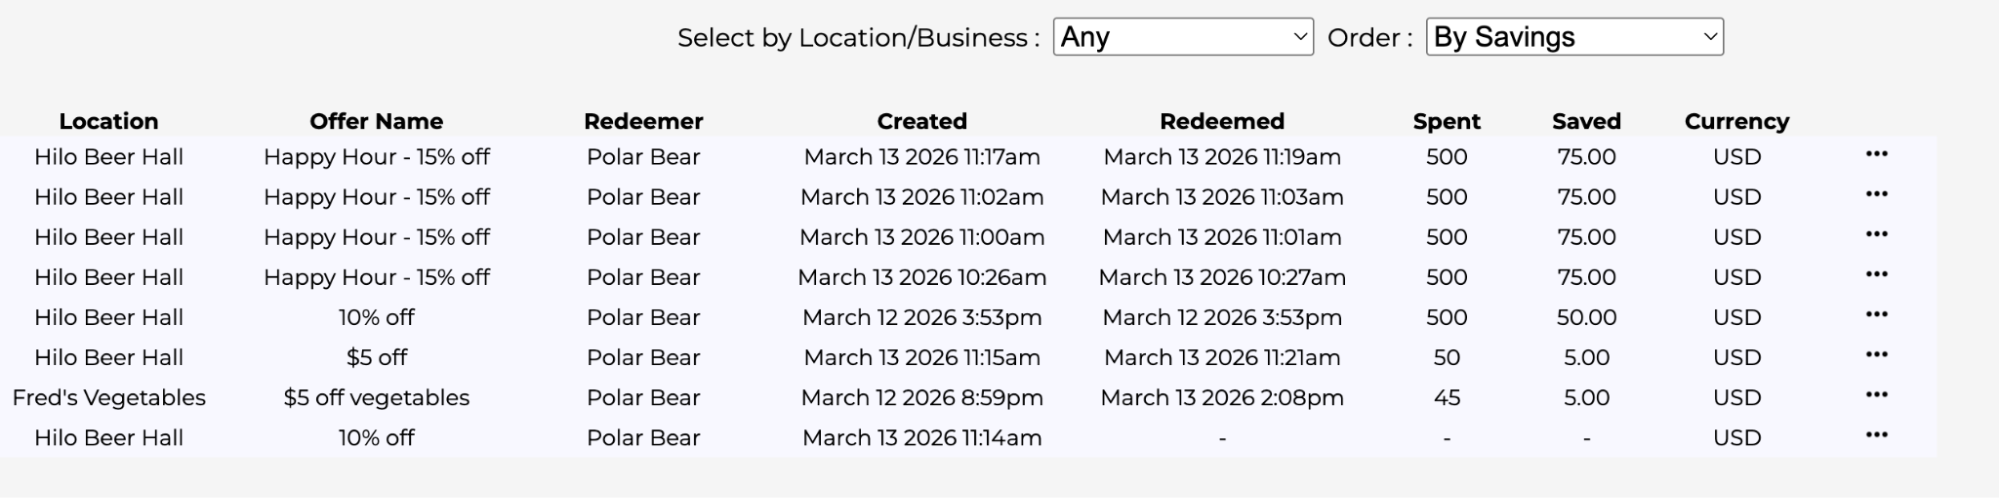
The Dashboard
The ‘dashboard’ is reached using the ‘Dashboard’ tab. It displays, in realtime, what is going on with your offers. Using the dashboard you can see which offers are popular at which locations or businesses. You can search for offers based on business or location. Most importantly you can get counts and totals which allow you to optimize your offers and business. For example you might find that offers can turn a slow night into a winner.
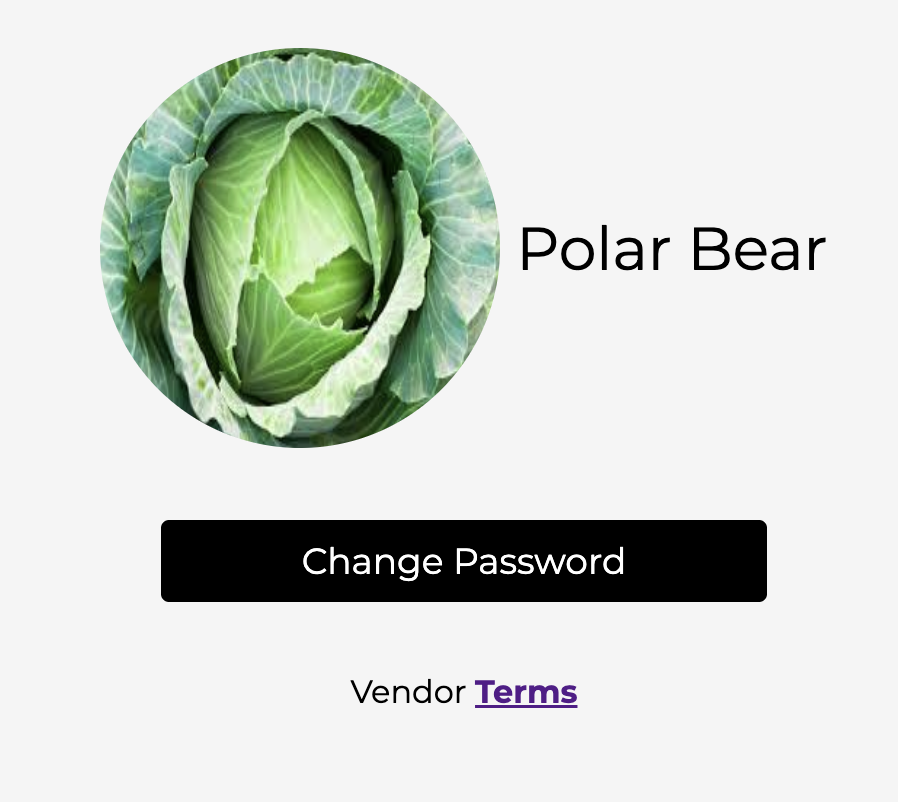
Settings
The ‘Settings’ Tab allows you to alter your image, Vendor name, and password. Here’s an example:
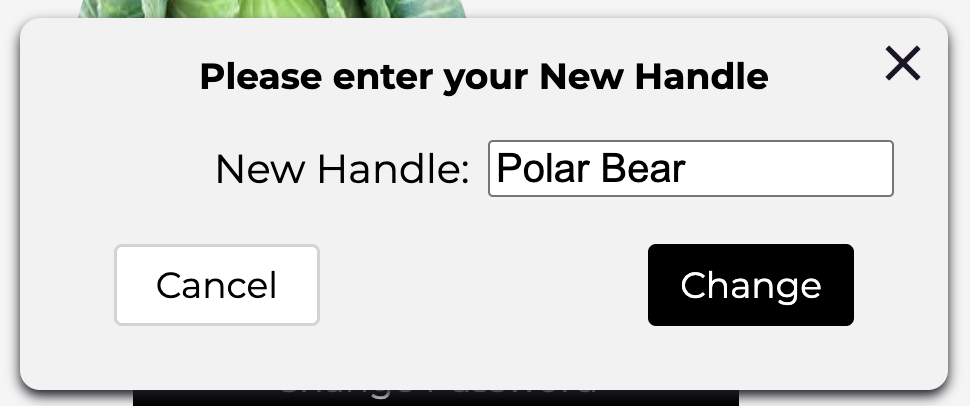
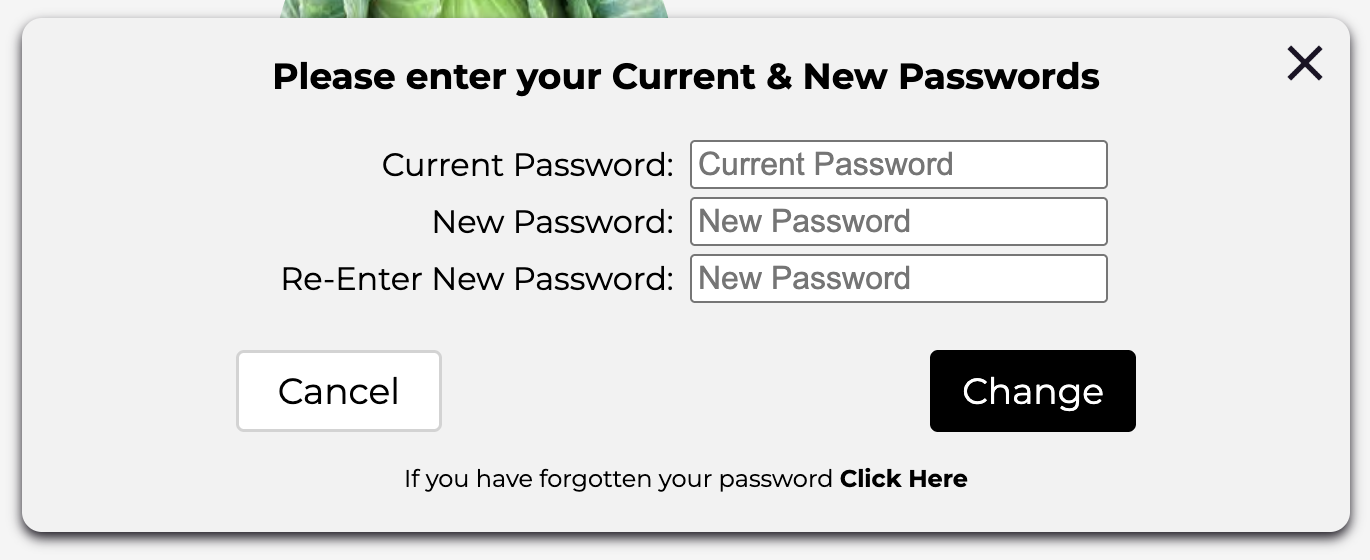
You can change the image by clicking on it. You can change the Handle (or Vendor Name) by clicking on it. You can change the password by clicking the ‘Change Password’ button.
April 16, 2026